How To Drain A Water Heater in 7 Simple Steps
A tankless water heater is a great option for homeowners who want to save space and have an endless supply of hot water. It’s also energy efficient. However, like all water heaters, they must be periodically drained in order to remove any sediment that has accumulated. If you want to drain your water heater yourself, this DIY guide has you covered. Take a look at the steps below to learn how to drain a water heater.
Why You Need To Drain Your Tankless Water Heater
First, let’s start by explaining why you need to drain your water heater. It’s generally recommended that you drain your tankless water heater once a year. Doing so helps to remove sediment that has built up over time.
Sediment can cause your water heater to work less efficiently and, in some cases, lead to damage. By taking the time to drain your water heater on a yearly basis, you can help prolong its lifespan. Not to mention, regular maintenance also prevents costly repairs that come with fixing or replacing your water heater.
A Step-By-Step Guide To Draining Your Tankless Water Heater
Before draining your water heater, here are a few of the tools you’ll need:
- Plastic bucket (to catch the water)
- Garden hose
- Vinegar
- Adjustable Wrench
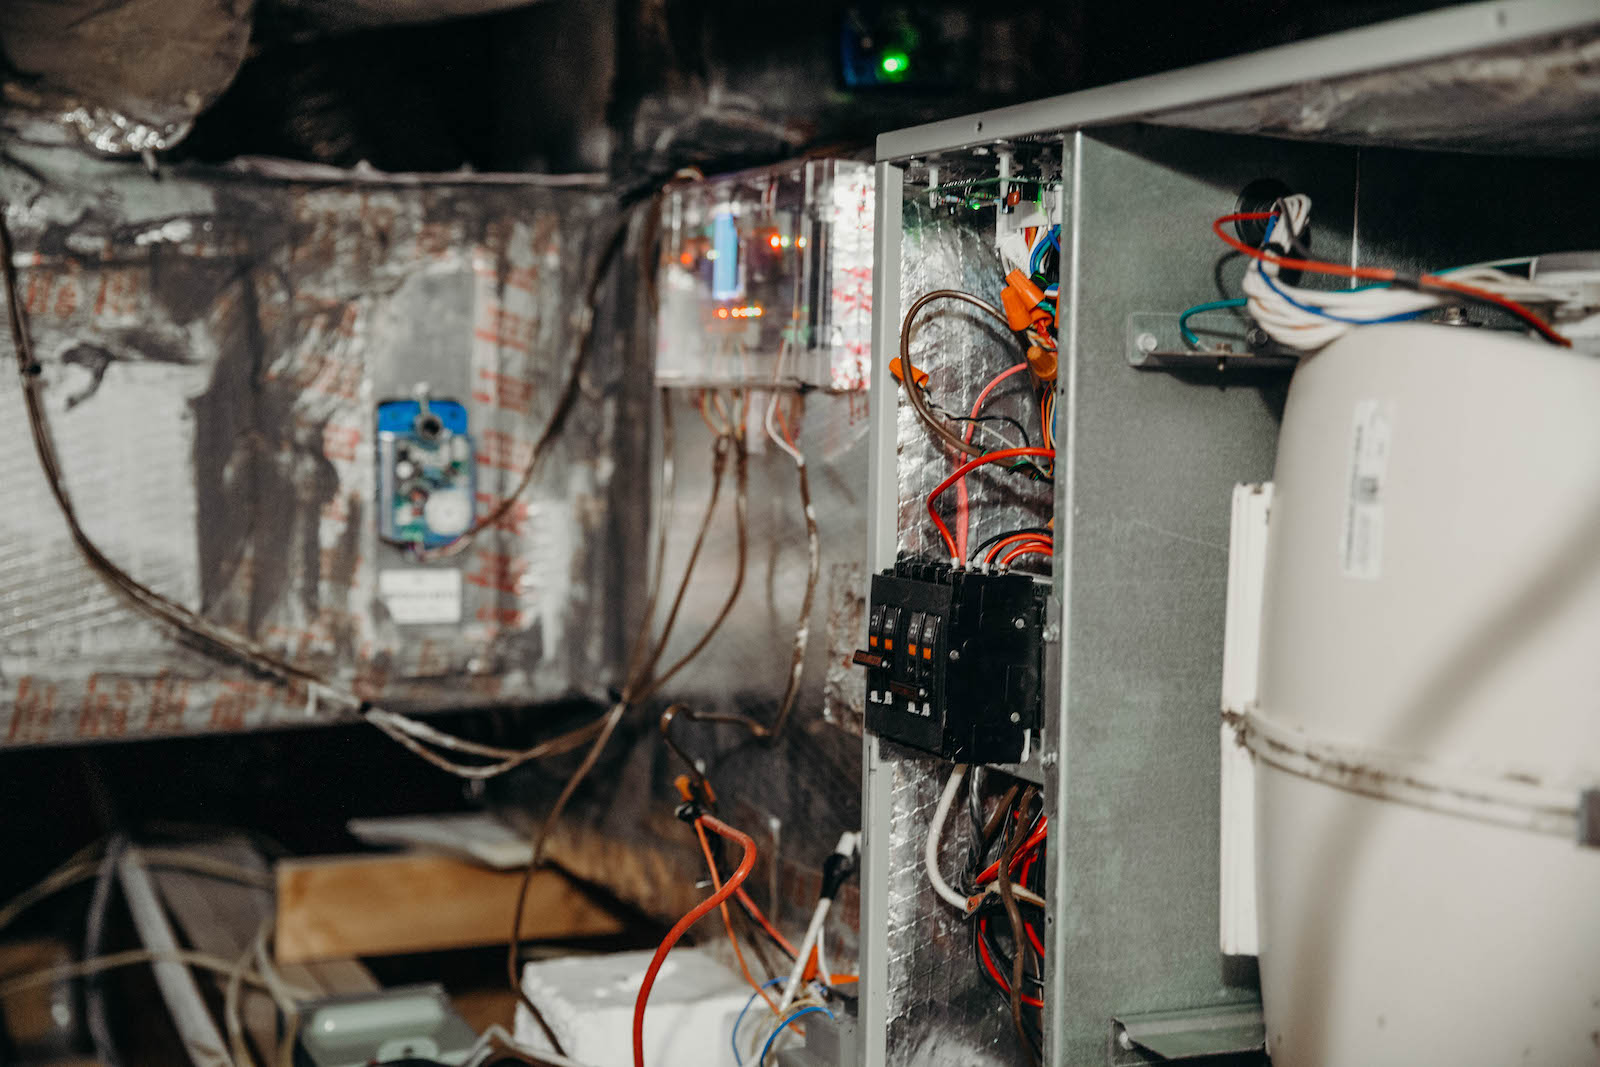
1. Shut Off The Power To The Water Heater
This step is usually done by flipping a switch on the circuit breaker box. If you are not sure which switch controls the power to the water heater, you can also shut off the power to the entire house at the main breaker box.
Once the power is shut off, open the cold water supply valve that feeds into the water heater. This will allow any remaining water in the tank to drain out.
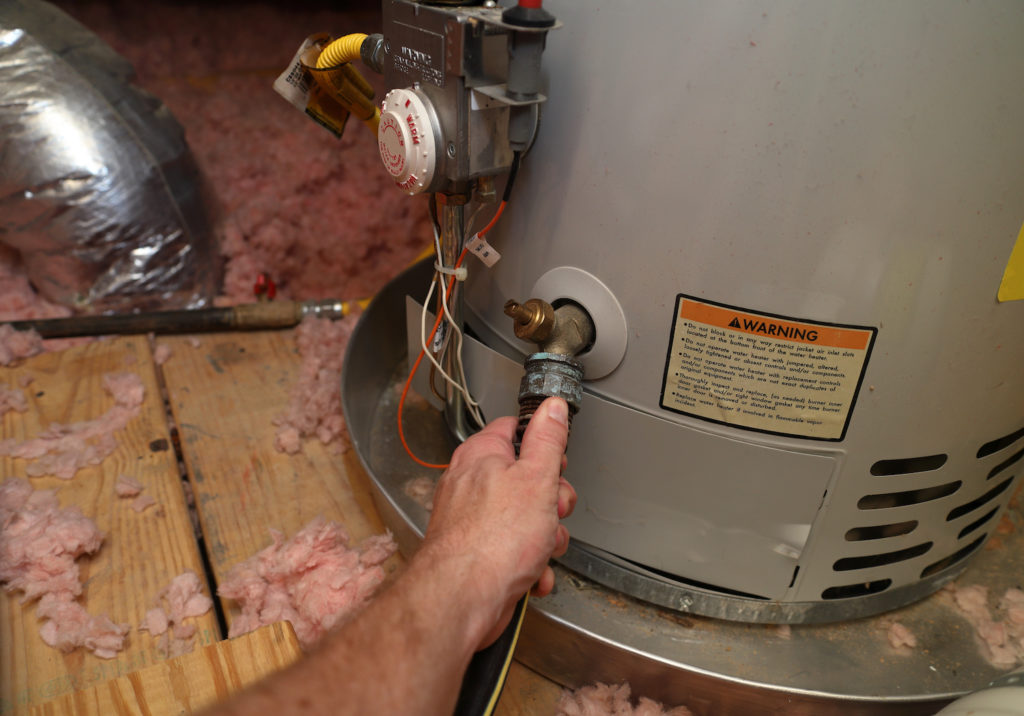
2. Connect The Water Hose To The Drain Valve
The next step is to connect the water hose to the drain valve. The location of the drain valve will vary depending on the make and model of your water heater, but it is usually located near the bottom of the unit.
3. Open The Drain Valve And Vinegar Solution
Once the hose is connected to the drain valve, open the valve to begin draining the water heater. As the water drains, add vinegar to the bucket. The ratio of vinegar to water should be 1:1.
4. Let The Solution Sit For 30 Minutes
Once all of the water has drained from the unit, close the drain valve and let the vinegar solution sit in the tank for 30 minutes. This will get rid of any mineral deposits that have built up inside the tank.
5. Flush The Tank With Fresh Water
After 30 minutes have passed, open the drain valve and flush the tank with fresh water until the vinegar smell is gone. Once the tank is flushed, close the drain valve and turn the power back on to the unit.
6. Run The Hot Water For A Few Minutes To Purge Air From The System
It’s a good idea to let the hot water run for a minute or two before using it. Doing this step can remove any air that may be in the system.
7. You’re All Done!
You’ve successfully drained your tankless water heater! Be sure to perform this maintenance task at least once per year for optimal results.

Professional Tank Draining Vs. DIY: Which Option To Choose?
Hopefully, the DIY steps mentioned above help you to understand how to drain a water heater. However, if you are not confident in your ability to drain the unit the right way, it is always best to contact the experts. Draining a tankless water heater seems easy, but it becomes a bit complex if you don’t know what you’re doing.
4Front Energy has the knowledge and experience necessary to drain your water heater without damaging the unit. We’re also able to properly dispose of the wastewater according to local regulations.
Signs That It’s Time To Drain Your Water Heater
Although your water heater requires draining every year, you may not remember when the time comes. Here are a few telltale signs that your tankless water heater needs to be emptied:
There Is Water Pooling Around The Base Of The Unit
If you notice water pooling around the base of your water heater, that’s an indication that the unit needs to be drained. Water that’s left sitting in the tank becomes stagnant and causes problems with the unit.
The Water Coming From The Taps Is Discolored
If you notice that the water coming from your taps is discolored, it’s a sign that there is sediment in the water heater. Sediment can cause issues with the unit and should be removed by draining the water heater.
The Water Coming From The Taps Has A Strange Odor
Another indicator that there is sediment in the tank is if the water coming from your taps has a strange odor. It’ll make the water smell bad. Therefore, it must be removed by draining the tank. In most cases, you’ll smell a vinegar odor, which will give you a heads-up.
The Water Heater Is Making Strange Noises
If your water heater is making strange noises, that also means there is sediment in the unit. It makes the unit overheat and break down. Draining the unit removes the sediment buildup and prevents further damage to the water heater.
Contact 4Front Energy For Your Plumbing Needs
Now that you know how to drain a water heater, there’s no excuse not to do it! Be sure to add this essential maintenance task to your yearly home maintenance schedule and enjoy many years of trouble-free use from your unit!
And, of course, 4Front Energy is always here to help. We have experience in bathroom and kitchen plumbing, as well as remodeling. We’re here to assist you with any of your maintenance, plumbing, and installation needs.
To reach us, call (952) 933-1868 or contact us online for a free consultation. We look forward to serving you soon!

Request Service

Why Choose 4Front Energy?
We’re a Service Company, Not a Sales Company
- Licensed, bonded & insured contractor
- Trusted Twin Cities service provider for nearly 30 years
- Reliable service excellence
- One number for electric, HVAC, and plumbing
- Stand behind our work with integrity
- Fair and straightforward pricing
- Provide invaluable comfort and integrated efficiency
- Technicians that take pride in their work