How To Install A Kitchen Sink in 11 Simple Steps (DIY Guide)
A new kitchen sink is one of the fastest, easiest, and cheapest ways to spruce up your outdated kitchen. Imagine it: a brand new deep-basin sink in place of your old scratched stainless steel from 1988. And yes, you can do it on your own! While more in-depth kitchen plumbing may require a professional like Paladin, DIY homeowners are fully capable of learning how to install a kitchen sink if they follow these 11 steps. First, let’s go over how much a new kitchen sink will cost.
How Much Does a New Kitchen Sink Cost?

The average cost of a new kitchen sink is around $467. But nearly 90% of that cost is for the hours of labor associated with removal and installation. Homeowners can save hundreds of dollars by doing it themselves. However, it does require at least a moderate level of expertise to do the job right. The cost also depends on the type of sink you choose to install. Types of kitchen sinks (and their cost) include:
Top mount/Drop-in: $200-$400
Under-mount: $200-$500
Double basin: $100-$600+
Single basin: $60-$1,000 (depending on material)
Integrated: $200-$900+
Farmhouse: $300-$2,000
Drainboard: $600-$2,500
Prep sink: $400-$1,500
Corner sink: $250-$900
Of course, the costs of such sinks can depend on the brand, size, and materials of the sink. Common kitchen sink materials include stainless steel on the low end and stones like granite or quartz on the more premium end. It’s important to note that the more premium sinks can weigh a lot more which can complicate installation, especially for the inexperienced DIYer. In that instance, paying for a professional is worth it to avoid injury or poor installation.
Tools & Materials Needed for Proper Installation
You’ll need some essential tools to remove your existing sink and replace it with the new one. If you need to cut the space bigger or reinforce it for heavier material, you must be prepared before you begin to avoid any emergency runs to the hardware store. Here is a list of tools or materials you’ll need to get the job done right:
Your new kitchen sink + appropriate installation kit
Tubing cutter
Jigsaw
Drill + spade bit
Screwdriver
Mechanic’s pliers
Adjustable wrench
Tape measure
Hacksaw
Utility knife
Straight edge
Level
Pencil and permanent marker
Circular saw or reciprocating saw
Metal snips/wire cutters
Socket wrench set
Putty knife
Metal file
PVC piping
Now you might not use every single one of these tools, but all can come in handy along the process. When you purchase your sink, it should come with all of the appropriate tubing, washers, drain assembly, etc., that you need, but some resizing of your PVC pipes may be in order.
How To Install A Kitchen Sink: 11 Simple Steps
Now that you’ve got all of your necessary items in place, follow these steps to install your new sink. Note: it can be beneficial to have a partner there to help.
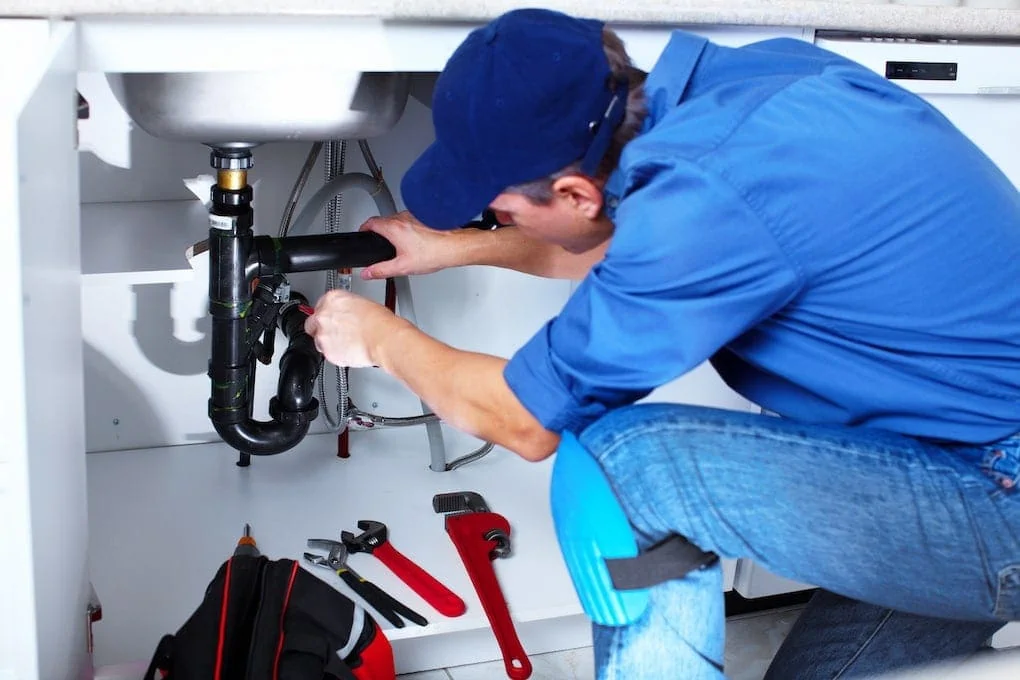
Step 1: Remove the Old Sink

This is probably the most challenging step but can be done relatively quickly with a few simple tools. If you’re replacing a top mount sink, it will likely just pop out once the screws are loosened. For an under-mount sink or other types of kitchen sinks, there may be more work involved in removing the old sink. Be sure to disconnect all water and electrical lines before you begin to avoid any accidents. Then loosen all of the screws that attach it in place, being sure to support it underneath, so it doesn’t drop down or damage anything. Grab a friend to help in this step!
Step 2: Measure and Mark Placement of Your New Sink
You’ve probably already measured the area for your new sink, but do it again so you can ensure a straight, even installation. With your sink upside down on the counter, use a level to mark where each of the screw holes will go. If you’re installing a new faucet simultaneously, be sure to measure and mark that placement as well.
Step 3: Draw Cut Lines
If you need to resize the opening to fit your new sink, lay some tape down and draw the cut lines as a guide with a permanent marker. Do NOT eyeball the cut lines or use a pencil because it can be hard to see anything lighter than a black marker once you start using the saw.
Step 4: Use Your Jigsaw to Cut the Hole Open (If Necessary)
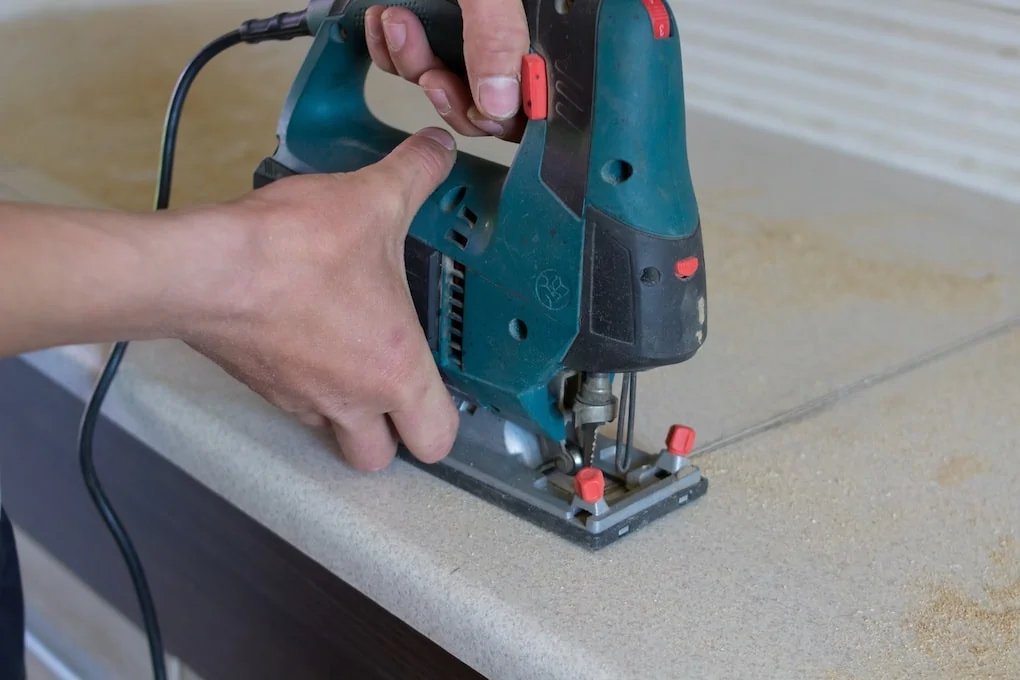
Starting on the inside of the marked lines, use your jigsaw to cut out the hole for your sink. Be very careful in this step not to cut into any wiring or plumbing that may still be attached! Go slowly and steady with your cuts.
Step 5: Assemble Your Sink Parts
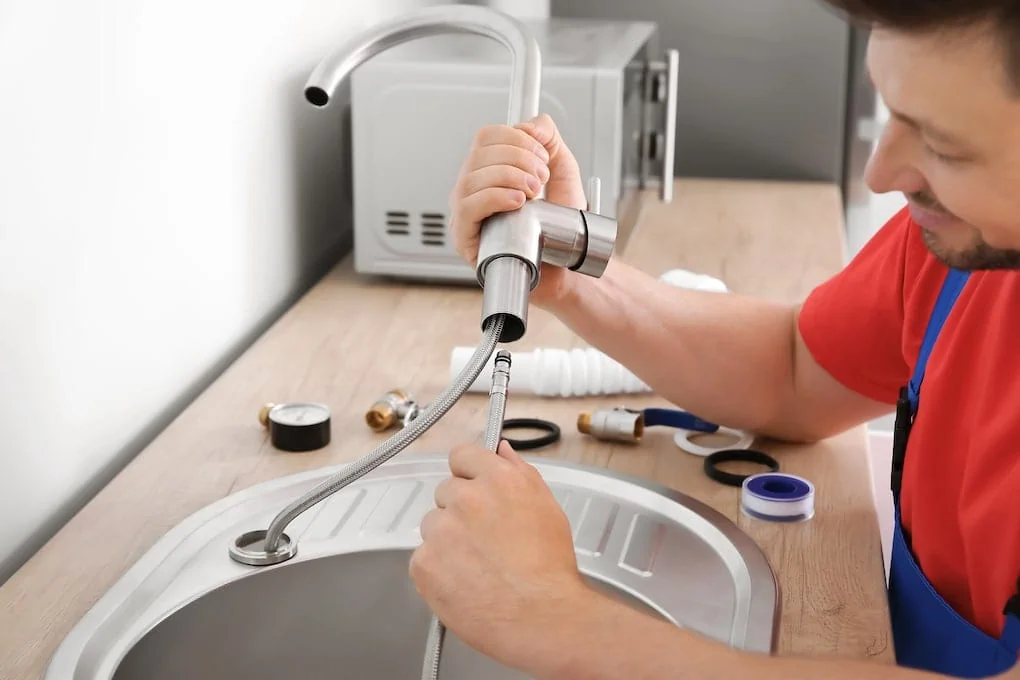
Once the hole is cut, it’s time to start assembling your new sink. Follow the instructions that come with your kit, but generally, it will involve screwing in the faucet, running supply tubing through the gasket, and screwing in the mounting nuts and washers. To protect your new sink from scratches, flip it upside down on a padded sawhorse or gently on the counter over the sink. Use towels to cushion it if you want. Note: Make sure the faucet swivels correctly before tightening all of the nuts and bolts to secure it.
Step 6: Install the Sink in Place
With a partner, place the sink into your newly cut hole, hold it in place and start to screw in the mounting screws. Use your level as you go to keep it straight. If needed, tighten or loosen the screws until it’s perfectly level.
Step 7: Connect the Water Supply
Now it’s time to reconnect all of the water lines. You would have turned off the water supply before beginning, but be sure to have a bucket close by if any leaks occur during connection and when testing out the sink.
Step 8: Connect the Drain Pipes
Finish assembling the drain pipes once your sink is securely in place. This should be easily connected to the system you already had unless you drastically changed its position.Step 9: If You Have a Dishwasher, Re-Connect the Drain
If you have a dishwasher, remember to reconnect the dishwasher drain to the drainpipe assembly for the sink. You do not want a giant leak when you use the dishwasher again.
Step 10: Test the Sink
Run the water! Make sure to keep an eye under the sink and check for any changes in water pressure. This will be your last chance to make any adjustments or tighten anything if necessary.
Step 11: Clean Up and Enjoy!
Voila! You’ve just successfully installed your new kitchen sink. Feels good, doesn’t it? Now pat yourself on the back and enjoy your hard work.

Things to Consider Before Your DIY Kitchen Sink Install
A new sink is a small change but can significantly impact your kitchen. Before tackling such a project, it can be an excellent opportunity to look at any other minor updates that could improve your kitchen without doing a complete remodel. For example, this could be a good opportunity to relocate your sink if you prefer to have it under a window or just don’t like the current flow of the space. Other things to consider include:
Do you have a garbage disposal? Consider getting a sink that would accommodate a garbage disposal. Our DIY guide will help you with the garbage disposal installation process.
Do you want to replace the countertop? If you’re going to be cutting into your existing countertop already, why not think about replacing the whole thing? It can be another DIY project, and you can kill two birds with one stone.
Will your new sink require relocating plumbing? If this is the case, we highly suggest hiring a professional plumber to take care of that. Never mess with your own plumbing systems unless you’re experienced.
Get a new faucet system while you’re at it, or even get that high-pressure sprayer you always wanted.
Getting the Job Done Right the First Time
At 4Front Energy, we can help you get the kitchen of your dreams, even if it just means swapping out your dated sink for a beautiful new farmhouse basin. You’ll be surprised what a transformation it’ll give you, but only if the installation is a success. One way to ensure a successful installation is to hire 4Front Energy. Our team of expert plumbers can remove and install your new sink in a few hours without any hassle to you. Contact us to schedule your installation!


Request Service

Why Choose 4Front Energy?
We’re a Service Company, Not a Sales Company
- Licensed, bonded & insured contractor
- Trusted Twin Cities service provider for nearly 30 years
- Reliable service excellence
- One number for electric, HVAC, and plumbing
- Stand behind our work with integrity
- Fair and straightforward pricing
- Provide invaluable comfort and integrated efficiency
- Technicians that take pride in their work